Master Coconut Pudding: Pick Your Perfect Creamy Texture 3 Ways
Imagine a spoonful of pure, tropical bliss – that’s the magic of homemade coconut pudding. A dessert that manages to be both elegantly simple and incredibly versatile, it offers a dairy-free indulgence that’s naturally sweetened and utterly satisfying. Far from a complicated affair, this creamy delight can be whipped up in minutes, transforming a handful of basic ingredients into a rich, velvety treat. Whether you're a seasoned chef or a kitchen novice, mastering coconut pudding means unlocking a world of textures and flavors.
This isn't just about making *a* coconut pudding; it's about crafting *your perfect* coconut pudding. We'll explore how to achieve distinct textural experiences – from soft and spoonable to firm and sliceable – and dive into the various ways to enhance its natural deliciousness, including the classic vanilla and beloved chocolate variations. So, get ready to discover the secrets to a truly unforgettable dessert that adapts to every mood and occasion.
The Heart of Creaminess: Why Coconut Milk Shines
At the core of any exceptional coconut pudding is, of course, the coconut milk itself. This isn't merely a dairy alternative; it's the very soul of the dish, imparting a unique richness and a delicate, tropical fragrance that sets it apart. The natural fats in full-fat coconut milk contribute to that coveted velvety texture, while its inherent sweetness beautifully complements various flavorings without needing excessive added sugar.
Opting for high-quality, full-fat coconut milk is paramount for achieving the best results. Look for brands with a high coconut extract percentage and minimal additives. While light coconut milk can be used for a less rich version, be aware it will result in a thinner pudding. For those who enjoy the journey from scratch, starting with fresh coconuts offers an unparalleled experience.
Fresh young Thai coconuts yield both sweet water and tender, spoonable meat, perfect for blending into the creamiest pudding base. While opening them can seem intimidating – often involving a cleaver and a steady hand (always keep your spare hand safely behind your back!) – the reward is immense. You'll know you've struck gold when the meat is pristine white and the water tastes sweet. Watch out for signs of spoilage like pink-tinted meat, sour water, or green edges around the outer shell.
If the thought of wielding a cleaver isn't your cup of tea, fret not! Modern convenience offers excellent alternatives. Many grocery stores, like Whole Foods, now stock frozen organic coconut meat and water. You can also often find already-opened coconuts in the produce section, or simply ask a friendly produce manager to open one for you. This means everyone can enjoy the pure, fresh taste of coconut in their pudding without the hassle.
Unlocking Diverse Textures: Your 3 Ways to Creamy Coconut Pudding
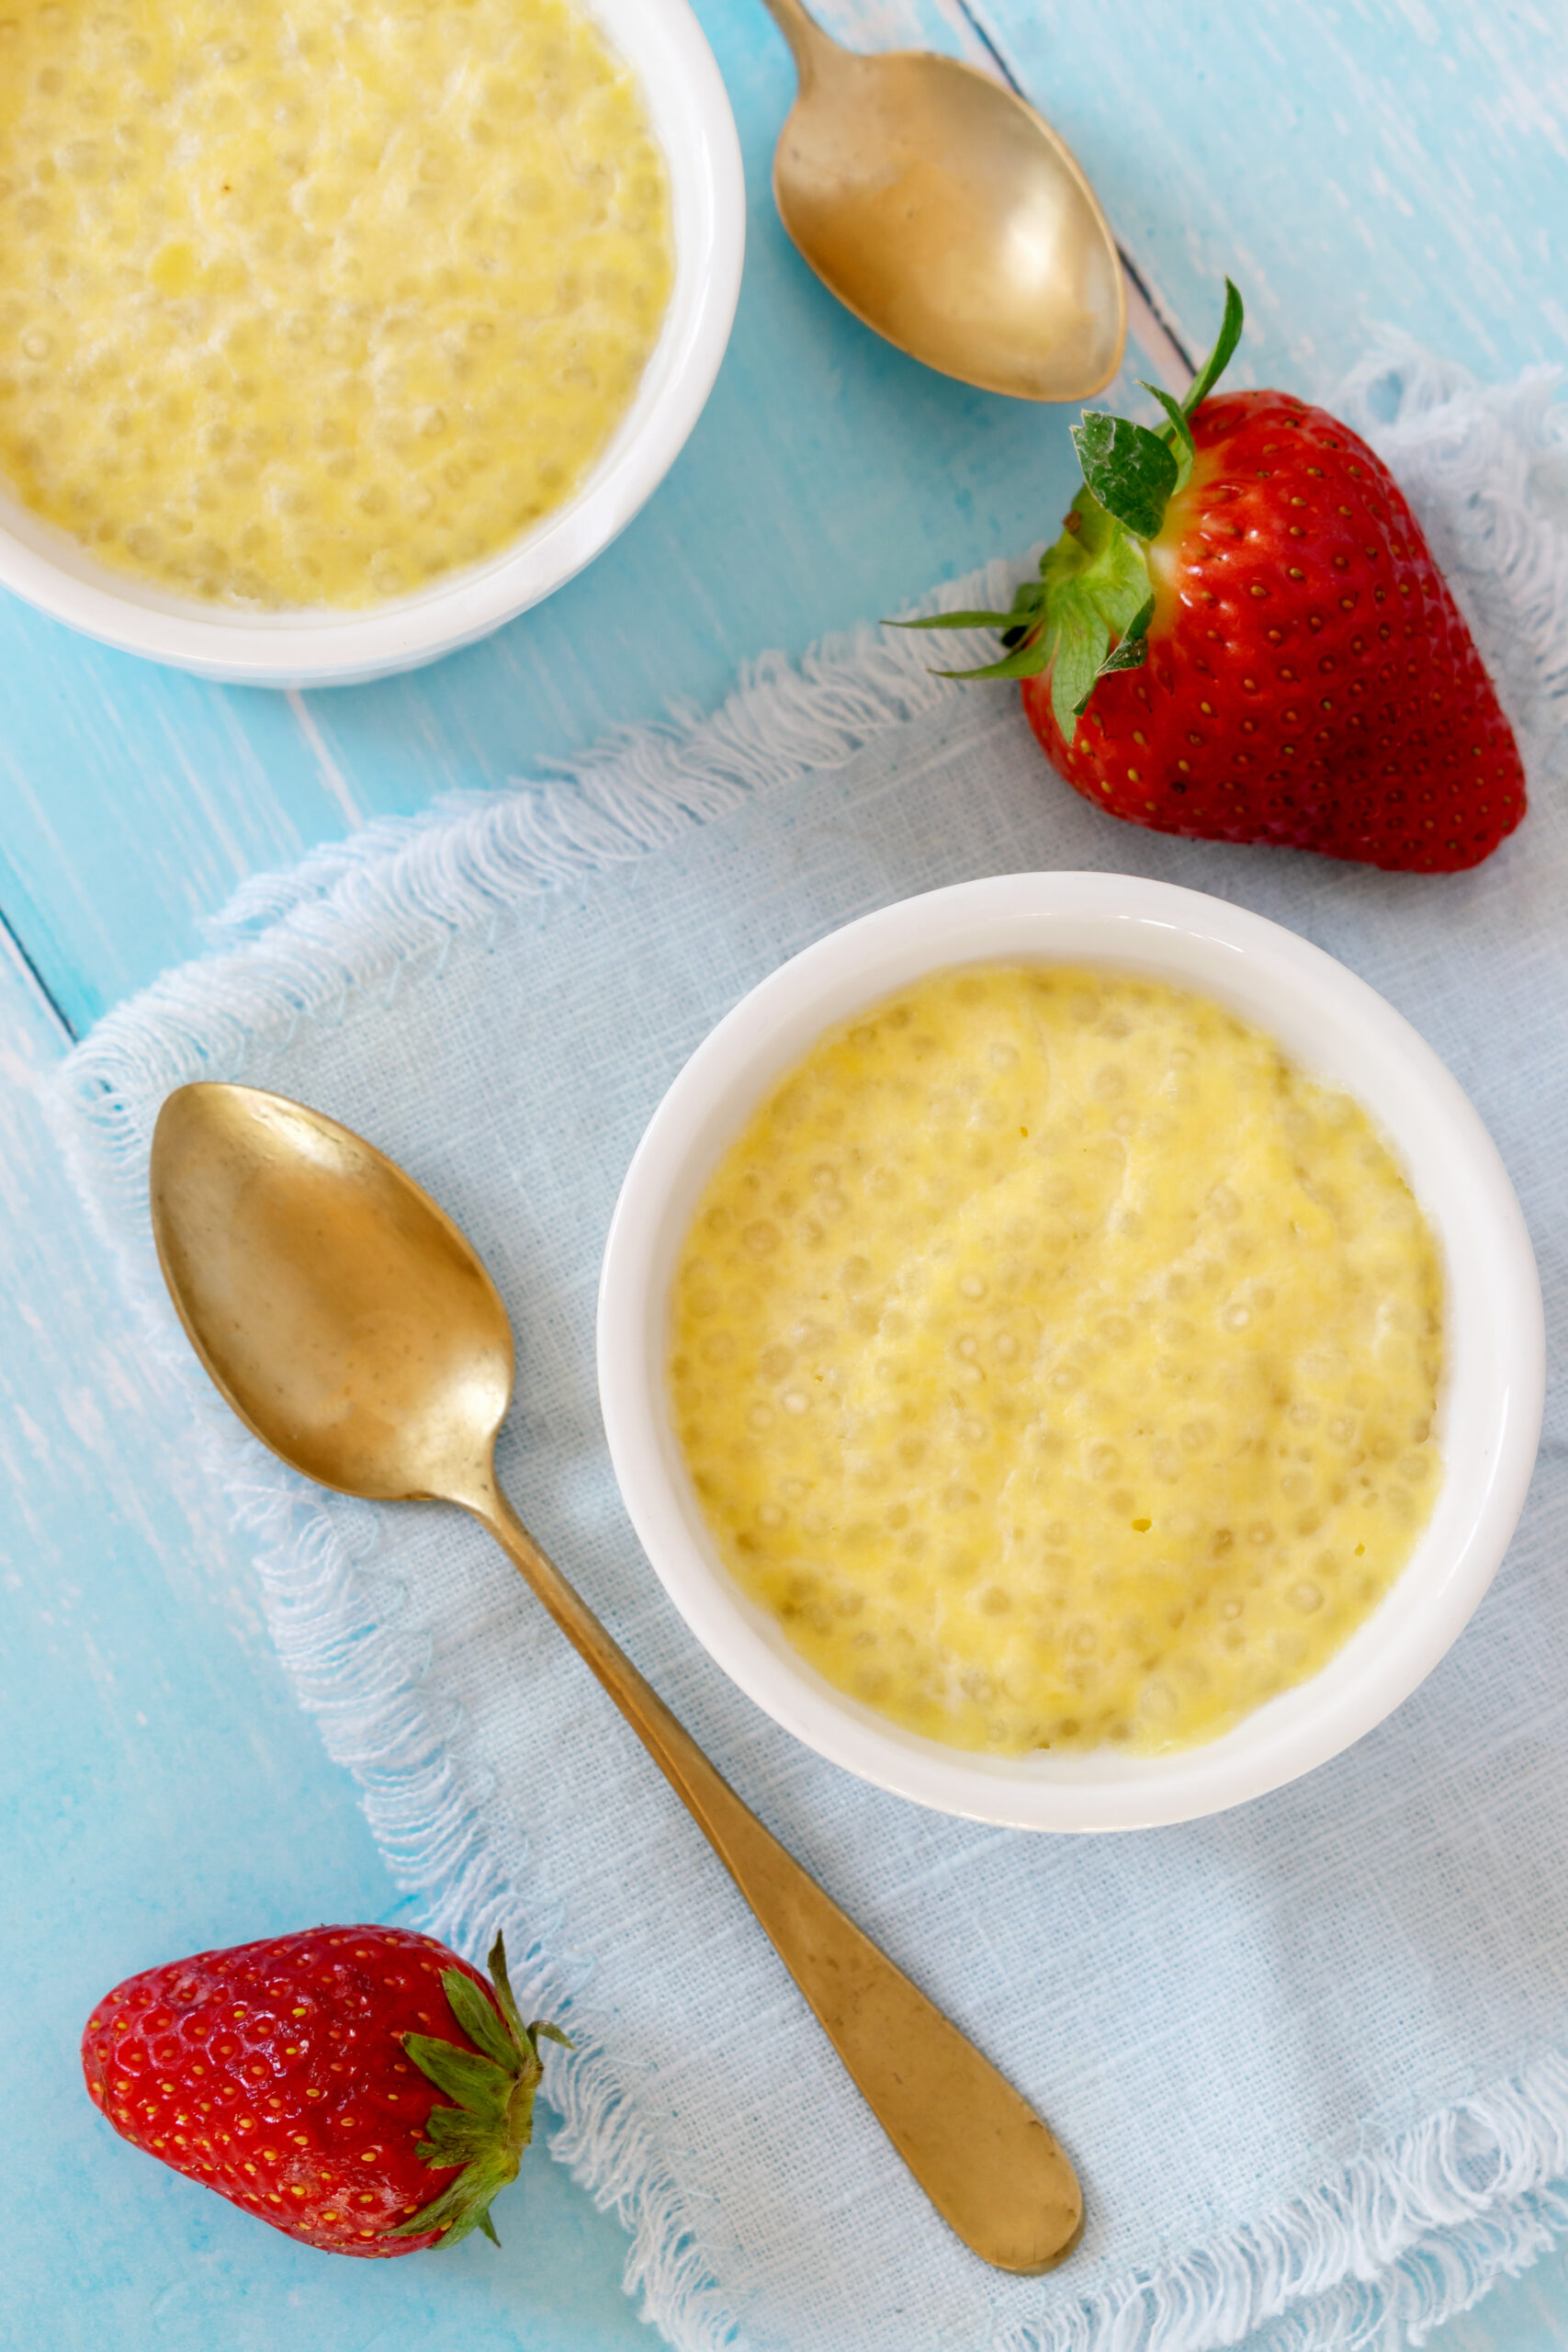
While the core ingredients remain consistent – coconut milk, a touch of sweetener, and flavorings – it's the choice of thickener that truly transforms the pudding's consistency. This is where you gain control, allowing you to tailor your dessert to your exact preference, creating a
delicious dairy-free coconut pudding: explore 3 creamy variations in texture.
The Silky-Smooth Classic: Corn Flour (Cornstarch)
This is perhaps the most familiar method for achieving a classic, spoonable pudding. Corn flour (or cornstarch) creates a soft, custardy texture that melts in your mouth, reminiscent of traditional stovetop puddings. It yields a gorgeously smooth finish, perfect for layering or simply enjoying straight from the bowl.
*
Texture Profile: Velvety, rich, and softly set. It’s spoonable and yields gently, holding its shape just enough.
*
How it Works: Corn flour thickens by gelatinizing starch molecules when heated. It needs to be dissolved in a small amount of cold liquid first to prevent lumps, then whisked into the hot coconut milk mixture and cooked until thickened.
*
Ideal For: Everyday dessert, topping fresh fruit, or as a base for parfaits. Its familiar mouthfeel makes it a crowd-pleaser.
*
Tips: Always make a slurry with cold liquid before adding to hot mixture. Cook gently over medium heat, stirring constantly, until it visibly thickens and coats the back of a spoon. Don't boil aggressively.
Firm & Slicable Elegance: Gelatin
For a pudding with a more structured, yet still delightfully jiggly consistency, gelatin is your go-to. This method produces a pudding firm enough to slice and hold intricate shapes, making it ideal for elegant presentations or when you want a dessert with a satisfying "bounce."
*
Texture Profile: Firm, translucent, and elegantly jiggly. It can be molded and sliced, yet still feels smooth on the palate.
*
How it Works: Gelatin is a protein derived from animal collagen. It “blooms” in cold liquid and then dissolves in warm liquid, setting into a gel as it cools.
*
Ideal For: Layered desserts, individual molded puddings, or a firmer base for fruit jellies.
*
Tips: "Bloom" powdered gelatin by sprinkling it over a small amount of cold water and letting it sit for 5 minutes before gently warming it until dissolved. Ensure it's fully dissolved before mixing into your coconut milk base to avoid grainy texture. This option is not suitable for vegans or vegetarians.
Plant-Based Bounce: Agar-Agar
If you're seeking a vegan-friendly option that delivers a unique, slightly firmer, and bouncier texture than gelatin, agar-agar is your culinary ally. Derived from seaweed, agar-agar is a powerful plant-based thickener that creates a remarkably light and clear pudding with a distinctive snap.
*
Texture Profile: Firmer, clearer, and with a delicate "bounciness" or slight chew. It holds its shape extremely well.
*
How it Works: Agar-agar needs to be fully dissolved in boiling liquid, then sets as it cools. It's much stronger than gelatin, so less is typically needed.
*
Ideal For: Vegan desserts, Asian-inspired jellies (like Filipino Maja Blanca or Thai coconut jelly), or when a very firm, unmoldable pudding is desired.
*
Tips: Agar-agar powder needs to be brought to a rolling boil with the liquid to ensure it fully dissolves. If it's not thoroughly dissolved, your pudding won't set properly. Start with slightly less agar-agar than you think you need, as it can be quite potent.
Beyond the Basics: Fresh Coconuts, Flavors & Serving Suggestions
Once you’ve mastered the art of achieving your desired texture, the real fun begins with customizing your creamy coconut pudding. While the "creamy coconut pudding two ways" initially referred to classic vanilla and chocolate flavors, the possibilities extend far beyond.
*
Classic Vanilla: A timeless choice that allows the natural sweetness and fragrance of the coconut to shine through. A good quality vanilla extract or, even better, vanilla bean paste, will elevate this simple yet elegant flavor.
*
Decadent Chocolate: For a rich, comforting treat, cocoa powder transforms your coconut pudding into a dairy-free homage to childhood favorites, without the added sugar and preservatives of boxed mixes. Start with unsweetened cocoa powder and adjust sweetness to taste.
*
Tropical Twists: Infuse your pudding with pandan extract for an aromatic, vibrant green hue; swirl in mango or passion fruit puree; or add a pinch of cardamom for an exotic warmth. Zest from limes or oranges can also brighten the flavor profile.
*
Sweetener Savvy: While the natural sweetness of coconut milk is a good start, you can adjust with maple syrup, agave, or even a touch of stevia for a naturally sweetened dessert. Taste and adjust before setting.
*
Serving Suggestions: Serve your pudding chilled, topped with toasted coconut flakes, fresh berries, chopped nuts, a drizzle of caramel, or chocolate shavings. For an extra touch, consider layering different flavors or textures in a single serving glass.
Troubleshooting & Tips for Pudding Perfection
Even the simplest recipes can have their quirks. Here are some pro tips to ensure your coconut pudding turns out perfect every time:
*
Lump-Free Zone: Always dissolve your thickener (corn flour, gelatin, or agar-agar) completely before incorporating it into the main liquid. For corn flour, a cold slurry; for gelatin, bloom then warm gently; for agar-agar, bring to a boil. Straining the finished pudding through a fine-mesh sieve before chilling can also guarantee ultimate smoothness.
*
Adjusting Sweetness: Coconut milk's sweetness can vary. Always taste your mixture before the thickener fully sets and adjust to your preference. Remember, flavors mellow slightly when chilled.
*
Chill Factor: Patience is key! Allow your pudding ample time to chill and set in the refrigerator, typically at least 2-4 hours, or preferably overnight for the best texture and flavor development.
*
Storage: Store your homemade coconut pudding in an airtight container in the refrigerator for up to 3-4 days.
*
Embrace Experimentation: Don't be afraid to play with flavor combinations or adjust the amount of thickener slightly to fine-tune the texture to your personal preference. This is where your culinary creativity truly shines.
Making a creamy coconut pudding, whether you choose the classic soft set or a firmer sliceable variation, is a rewarding experience that yields a delightful, dairy-free dessert. With fresh ingredients and these simple techniques, you're well on your way to a naturally sweetened treat that tastes incredible and satisfies completely. To discover even more options for a quick and naturally sweetened treat, explore how to
whip up dairy-free coconut pudding: quick & naturally sweetened.
Coconut pudding is a testament to how humble ingredients can transform into something truly extraordinary. Whether you prefer the gentle embrace of a corn flour pudding, the elegant structure of a gelatin-set treat, or the distinctive bounce of an agar-agar creation, the journey to your perfect creamy coconut pudding is an adventure in taste and texture. So go ahead, pick your path, and savor every luscious, tropical spoonful!